Friday, March 7, 2014

March Update


I have finished the Lidded form project and have glaze it. I am currently working on creating the six cups, as well as finishing the Tile Project. For the tiles I am finished with creating my design and have to only add the handles on the back for the tiles to be able to be hanged. In addition, I have to glaze and color the tiles based on my emotion; bright. We started working on the cup project the week of 2/24/14 and have been working on them until the present date, thus we have only worked on the project for three or four class periods.

Tuesday, February 11, 2014

Lidded Form


The Lidded Form project was really fun, I  enjoyed coming up with a unique design to apply to the hump molds. Instead of adding handles I was able to add the coils around as well as in the top. The most difficult part was to pick out a good texture that would go well with the type of mold I chose. Also I am working on the Tile project, first I have to pick out my design and then start decorating the tiles. When glazing the small box I plant to first wax the bottom, then start with the inside and fill the inside to about half way with the color I chose and then swirl it around for the glaze to get to all the inside parts. Then I will continue with the outside and glaze the outside parts. After while the small box is drying, I will glaze the top piece by it self, but at the same time making sure the sides of the top are waxed as well as the opening of the top of the small box for the two pieces to fit well together. For the tiles I will first paint the design I choose, and then move to glazing each tile individually to perhaps use different colors per tile. Both of the project enhanced my abilities to use different textures and also be able to use the texture to express emotions, the projects provided a unique experience and were fun to work with. 

Friday, January 17, 2014

Catch Up


 I was able to make my cylinder five and a half inches tall, thus making my grade an 88%.

Based on the rubric given, overall I fall under the Standard 4 and 5 category. I mostly agree with the description of Standard 5, in the skills of handling composition and form I understand very well the elements and principles of how to use them specially in the different projects I do. For the Technical Skills I mostly have a strong quality with most aspects of technique and materials used to applying basic art to the crafts I create. In addition, when it comes to problem solving I am able to resolve problems with the use of my peers, yet many times I also need the help from Mrs. Gleeson yet while having a good sense of direction I do not fully resolve the problem. In all my work I put forth good effort, I want to always try my best to be satisfy with the crafts I do. I like to try even when things get tough, and with the help of Mrs. Gleeson I am able to do so. Also in putting effort comes a level of creativity, I very much try to make unique pieces. I try to make the piece mine, and add something even if it is small that will remind me of something meaningful to me. Overall I fall under the Standard 5 category, yet in the future I look forward to improving my skills.

Tuesday, January 7, 2014

Wheel Thrower

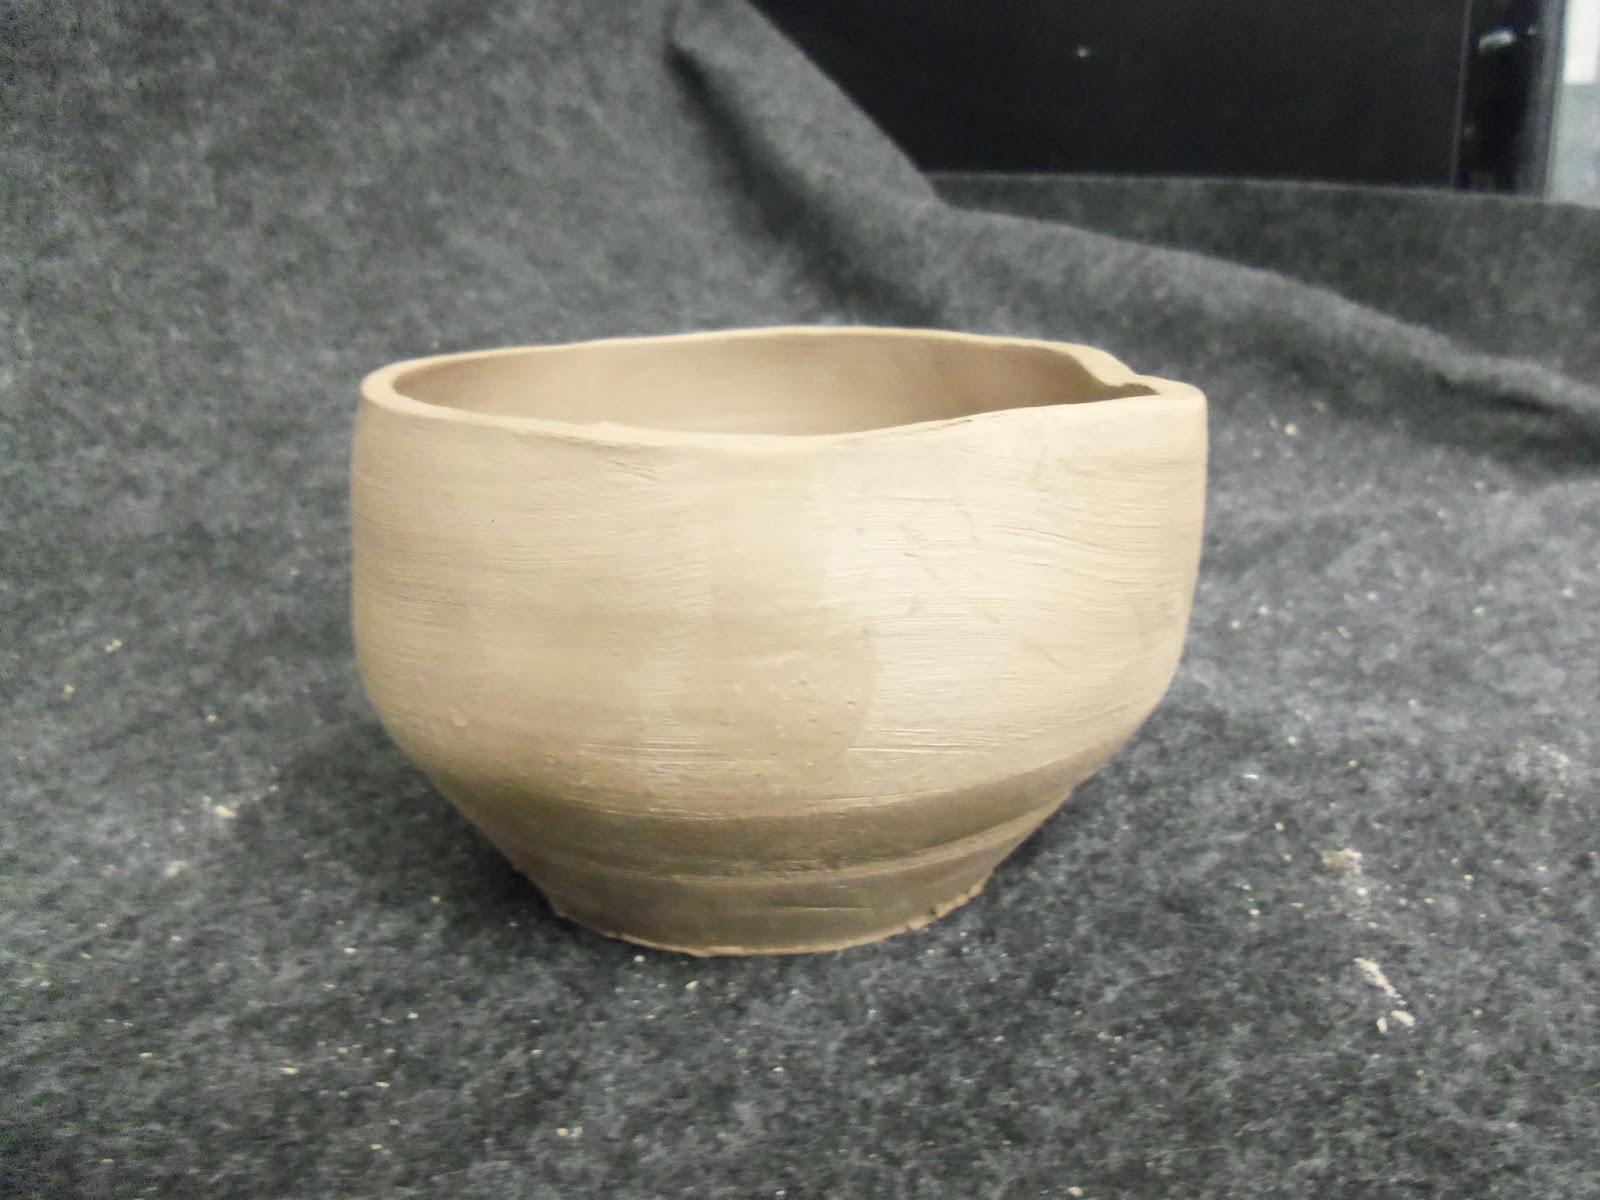
As making a six inch cylinder with two and a half pounds of clay, I mostly focused on making my cylinder six inch tall. I was able to get my cylinder up to five and a half inches, which made my grade an 88%. What mostly allowed me to make my cylinder taller was to go inside the clay and use my index fingers to raise up clay from the bottom. The process required a lot of patience and concentration, which sometimes I struggled with. In addition, the directions that were most helpful when learning how to use the potter wheel were learning how to center the clay, firstly remembering to make the clay using into a small ball to then slam down on the center of the wheel. Also learning how fast to spin the wheel helped to make the cylinder. All the tips given were useful to become a proficient user of the wheel.

Friday, November 15, 2013

Finished Lanterns


I really enjoyed doing this project, I liked looking at different pictures and learning that those pictures are able to be traced and used to make a lantern. It was a great lesson and opportunity to learn that to make a lantern all it takes is clay, tracing, slipping and scoring, carving, and effort. It was difficult making sure that the slabs were all the same size and that they fitted together, as well as working deligenly to get the project done. I was unable to finish my project on time, however my goal and plan is to come in the mornings the following week to finish the project while staring the new project right on time during class time.  I have one suggestion to improve the project, before tracing the picture for the actual slabs that will be used for the lantern. It would be a great idea to get a piece of flat clay and trace different pictures to see how the picture will possibly look like before deciding on the actual image that will be used for the lantern. Thus the person would have different options of images to choose from, than just looking at the picture on paper or the different books with the images.

Friday, November 1, 2013

Lanterns

I have run into one major problem with making a four-sided lantern: time. Time and the end of the quarter has made me not progress in my lantern project. I was caught  up working and finishing my coil pot, and then getting my picture for the lantern. To resolve the problem I have goals, I know I have about a week left to finish the lantern. Thus to be able to manage my time well, I plan to start getting my slabs cut out today. Then next class to start imprinting my picture into the slabs, then be able to start connecting my slabs together to then carve my image. I have small amount of time, but if I manage my time well and perhaps stay after school somedays I will be able to get the project done on time.

Wednesday, October 30, 2013

Glazing


            For my glazed piece I used Metallic Green and Shino. When glazing, first I had to wash my hands and wipe out the dust out of my bisque ware; it is important to wash hands and wipe out the dust so then the glaze is able to stick better to the pot. Afterwards I applied wax to the bottom of the piece with a brush, it is always essential to apply wax thus when glazing the glaze would be able to be easily wiped off the bottom of the piece, to then place the pot on a surface to let dry.  Then before placing my pot in the glaze, I had to mix well the glaze with a whisk. I started with the Metallic Green glaze, and filled the inside of the piece half way with a measuring cup. Then I swirled my piece for the glaze to spread throughout the inside. Then I let my piece dry, I then took tongs and held my piece and place it inside the bucket with the Metallic Green glaze for one and a half minute. While making sure that the inside of my pot was not filled up with glaze while dipping the pot in the bucket. After letting my pot stay in contact with the glaze only for one and a half minute, I took out the piece and wiped out the bottom, then I let dry and repeated the same steps with the Shino glaze.  At the end I took a sponge to wipe off the foot of my piece, for the pot to be fired.